Weekly Scripture Kits – how to use
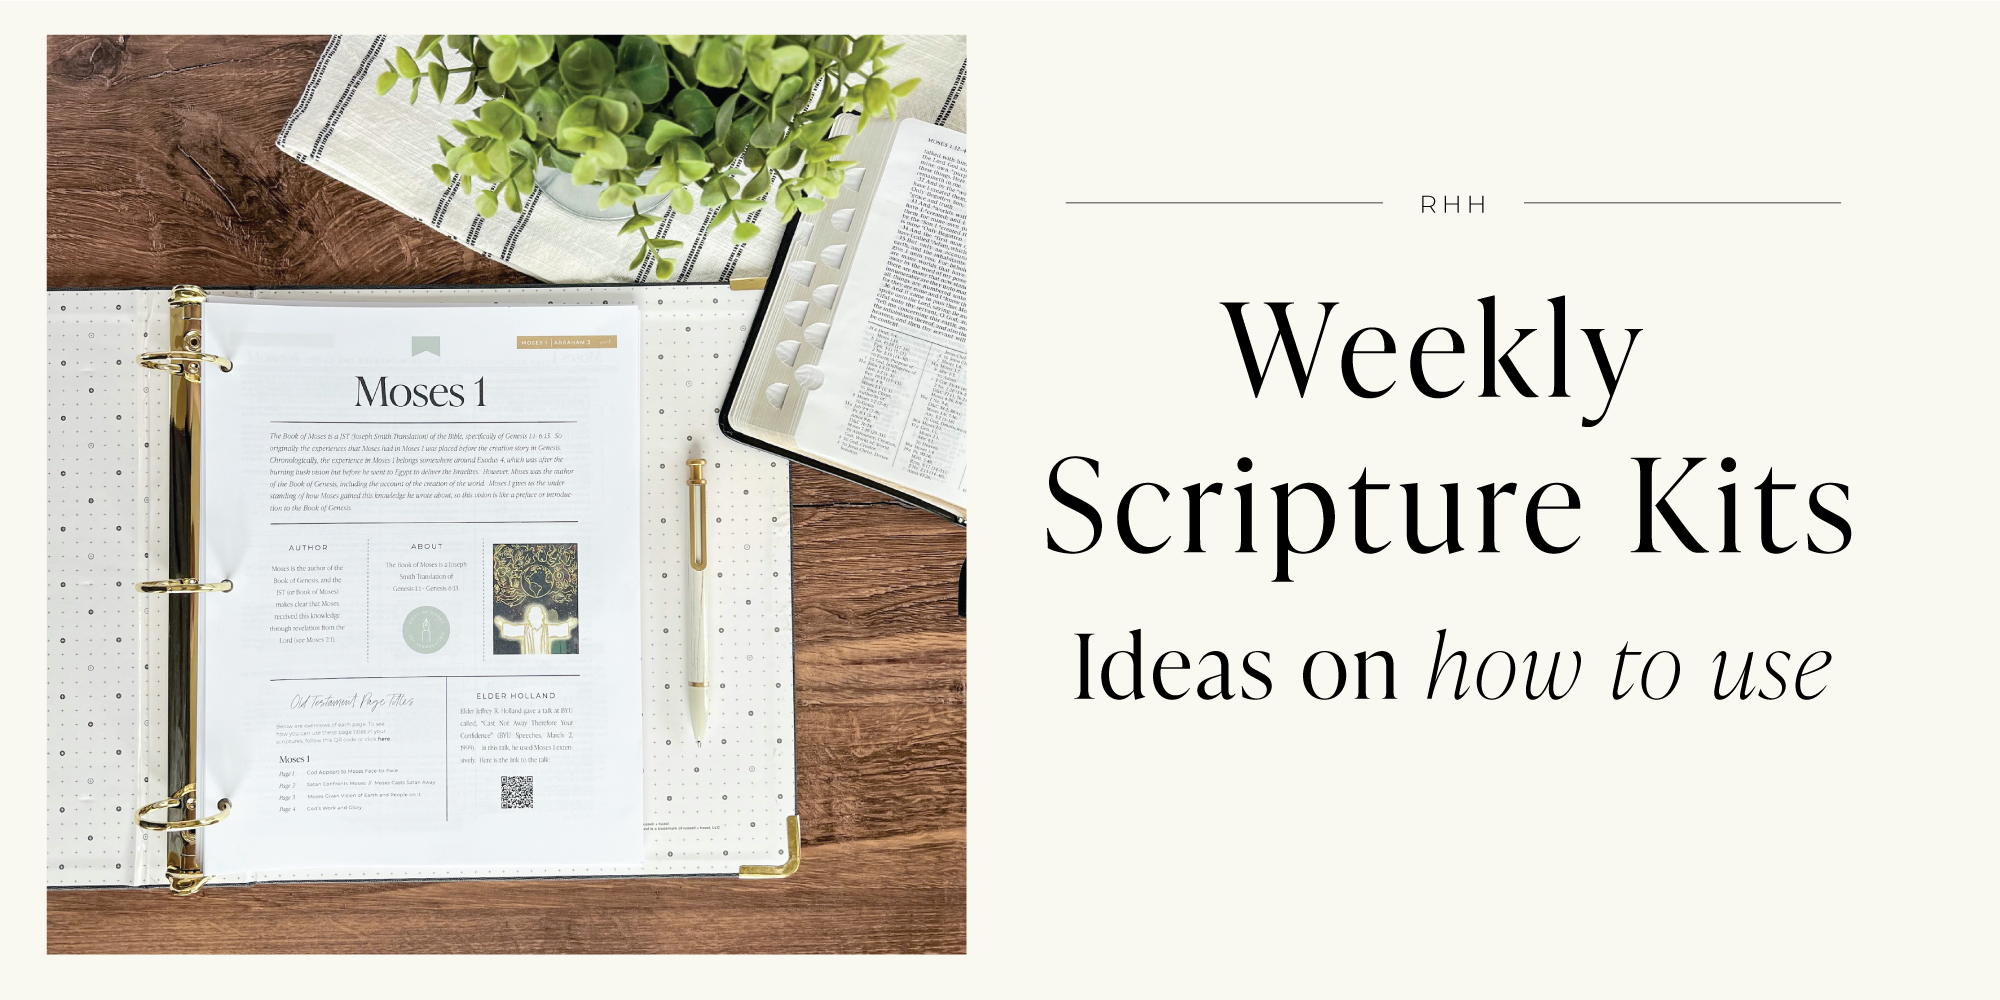
On this page you will find tips on how you can use the items in the weekly kits in various ways. You will see that one item can be used in four, five, or ten ways!
These ideas can help you teach with variety and tweak things to best fit those you love and teach.
Every week your subscription comes with three files:
1- Study Pages
2- Scripture Activity Kit
3- Just for Teens
Each idea below will identify which file each item is in.
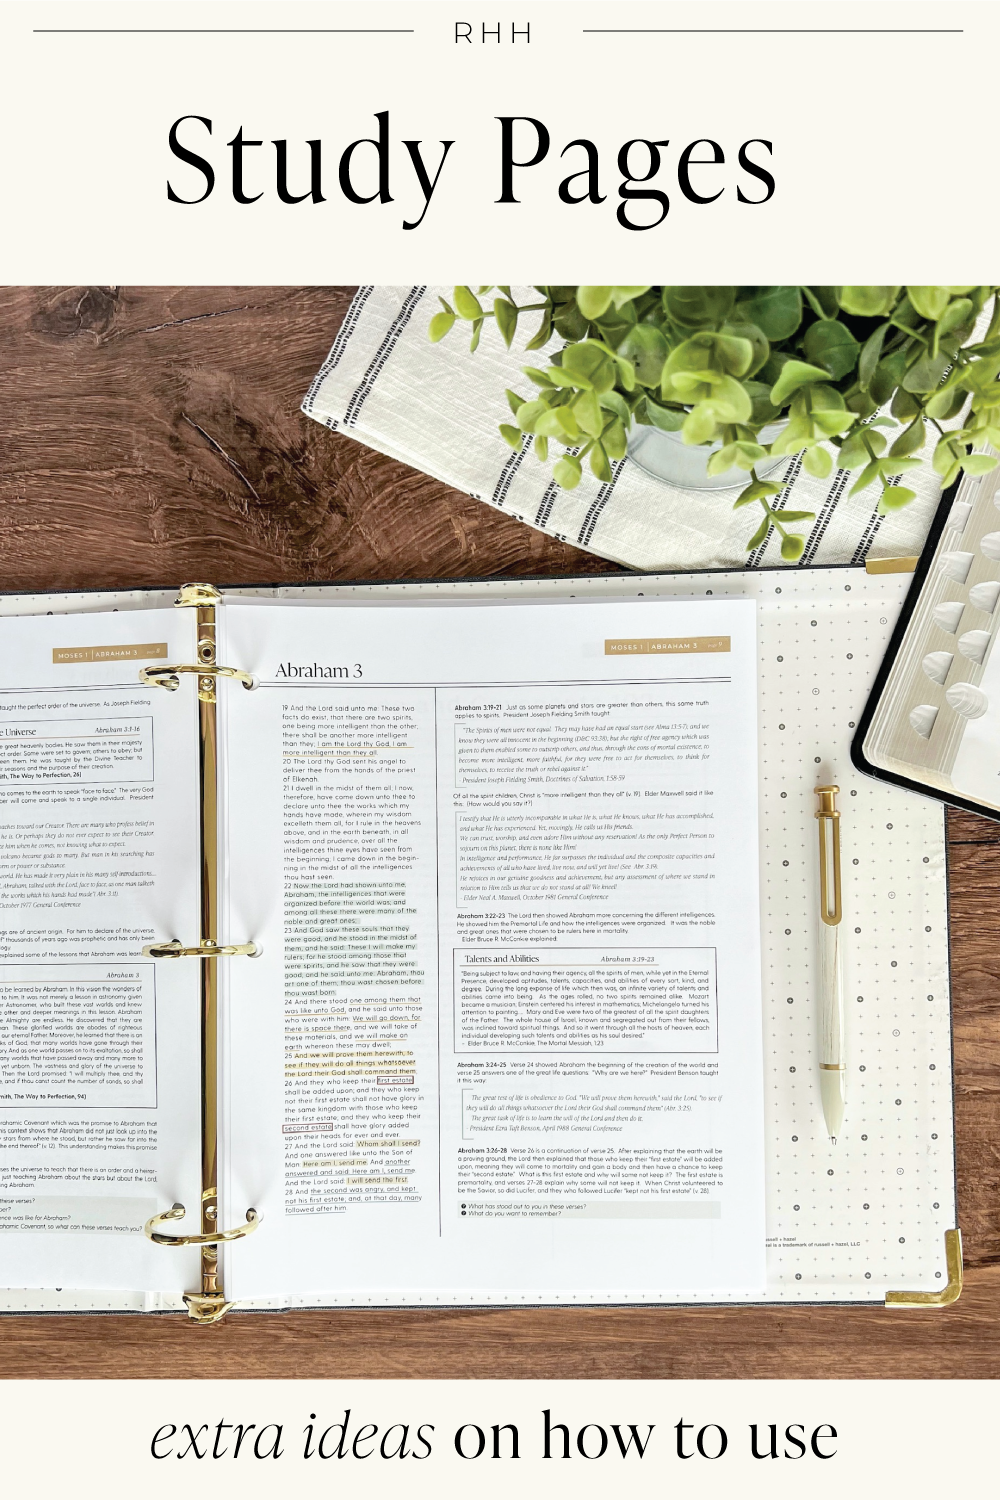
Item: Scripture Study Pages
Ages: Adults and older teens
File: Study Pages
Ideas for use:
- Print and keep in a binder. Add to the binder each week as you study the pages.
- Print and keep on a clip board that you can take along with you as you run errands.
- Avoid printing by using a digital tablet.
- Print for your spouse and put on a clipboard. Place on their desk or nightstand to help encourage them to study.
- Print one copy for you and your spouse to share. Each of you make your own notes on the same study pages of things you would like to teach your family, and then use the shared pages to help you know what to teach your family.
- Give one or two of the pages to your teen and ask them to study and prepare a 5 minute lesson to give to your family about anything that stood out to them.
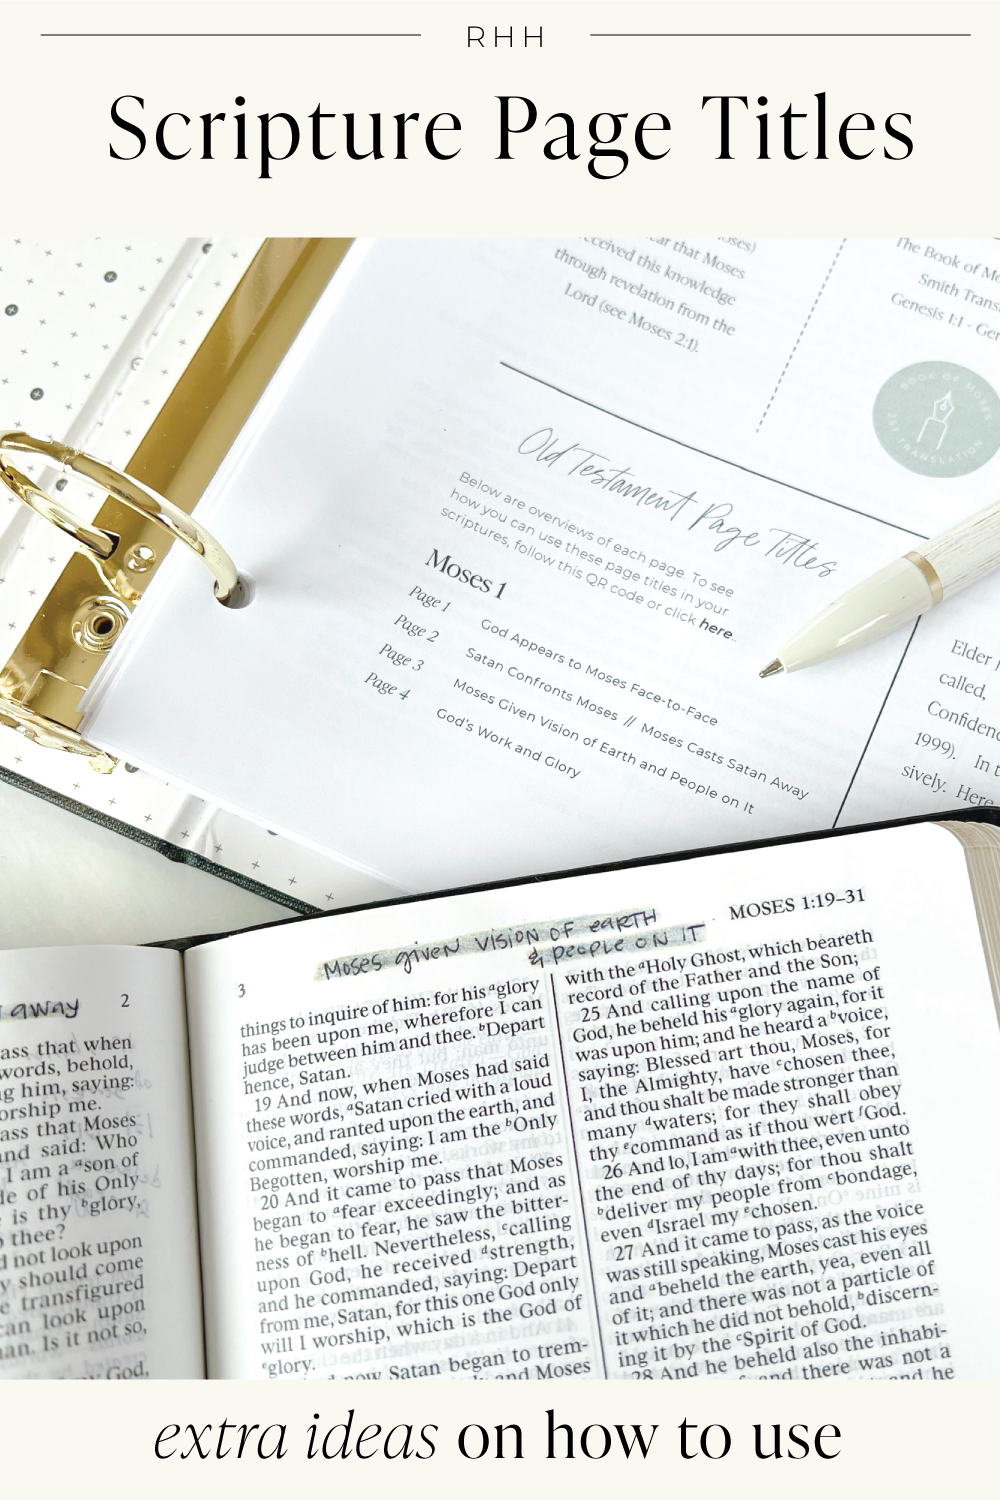
Item: Scripture Page Titles
Ages: Adults and teens
File: Study Pages
Ideas for Use:
- Write these at the top of each page in your scriptures to help you know, at a glance, what is happening on that page.
- Use for a youth activity – just put on a talk on CD, or let the girls chat, as they write the titles in their scriptures.
- Avoid printing by using a digital tablet.
- Print for your spouse and put on a clipboard. Place on their desk or nightstand to help encourage them to study.
- Print one copy for you and your spouse to share. Each of you make your own notes on the same study pages of things you would like to teach your family, and then use the shared pages to help you know what to teach your family.
- Give one or two of the pages to your teen and ask them to study and prepare a 5 minute lesson to give to your family about anything that stood out to them.
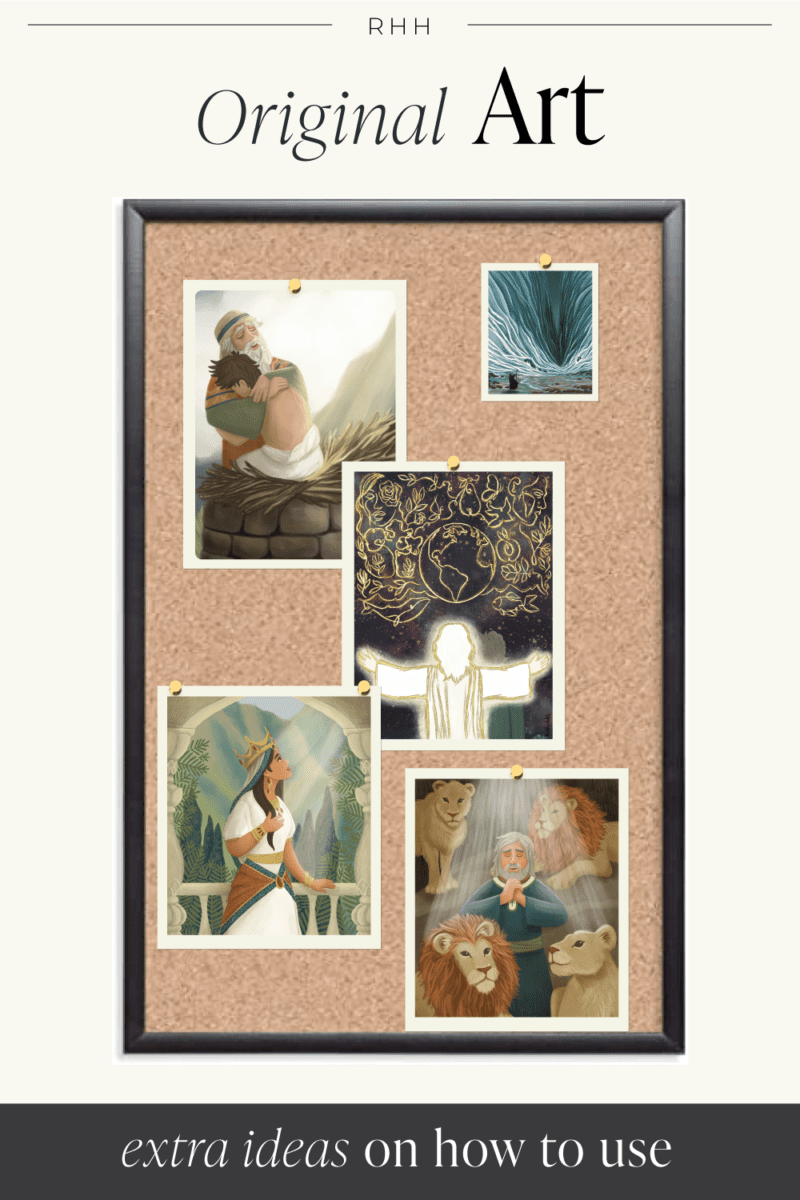
Item: Weekly Original Art
Ages: All ages
File: Study Pages
Ideas for Use:
- Display all week where your family can see it (a fridge, bulletin board, on a picture frame easel, etc.).
- Have a place in your home where you keep your favorite pieces of art all year.
- Print at a 25% ratio and create a banner of art prints that gets added to each week.
- Write on the back and use as a notecard to send to a family member. You can share something you learned from that lesson.
- For a fun activity, have your family try to to recreate the art using paint, colored pencils, or whatever else you have on hand.
- Use the 4×4 print as handouts in a lesson.
- If a story really applies to a specific child, hang it in their room as a daily reminder.
- Put the art for that week on the fridge and put a sticky note for each family member around the picture (with their name at the top of the sticky note). Challenge each family member to learn a personal lesson from the scripture story and write it on the sticky note by the end of the week.
- As you study that story with your family, write things you talked about, goals, things people said, etc. on the back of the art. Then keep the art in a folder as a record of your studies and also something your family can look through over the years.
- For little children, each piece of art can be turned into puzzles.
- For older children, they can tape the piece of art onto a window and place a blank piece of paper over it and trace it.
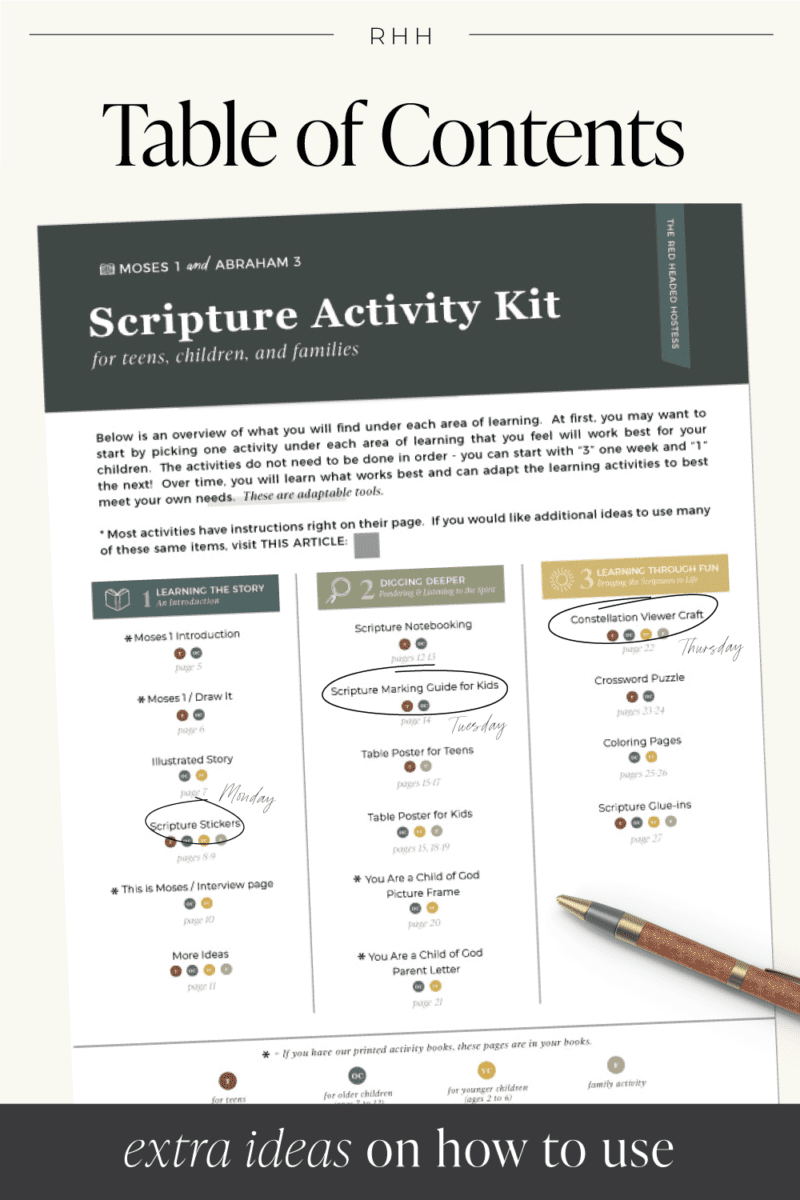
Item: Table of Contents
Ages: Adults
File: Scripture Activity Kit
- This is arranged according to the three areas of learning.
- An introduction to the story
- Diving deeper (pondering, indvidual learning)
- Learning through Fun
We suggest you start by choosing one thing in each area. So one thing to introduce the story, one thing to help your children dig deeper, and one fun activity.
- Use as your lesson planning guide for the week. Circle things you want to do and write the day/night you want to do the item you circled.
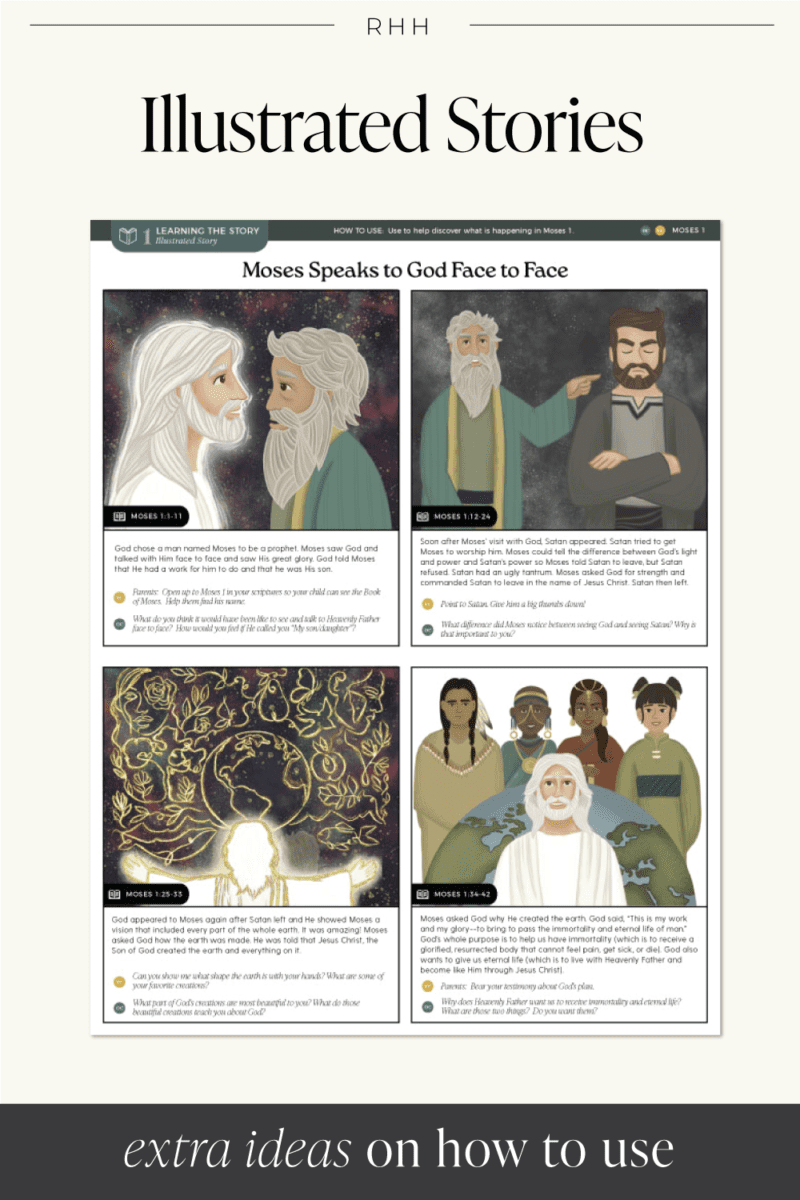
Ideas for Use
- Use as a bedtime story. Keep on a clip board for quick and easy access.
- Use for several nights, and after a few nights, the children can tell you the story
- Cut out the pictures and lay them out on a table. Tell the story and have the children place the pictures in order.
- Cut out each picture with the caption. Put pictures in order and staple together to create a little book.
- Cut out each picture and put velcro dots on the back. Use a flannel board (or a letter board made of flannel) to tell the story.
- Cut out each picture along with the caption and tell the children to create larger pieces of art. They can copy the art or create their own and add more details! Then use their pictures to tell the story.
- Have the children look at the pictures and use Play Doh to create each scene in the story.
- Keep all the stories in a binder and add to them each week. Then your children can look through them as they wish.
- The back of each illustrated story is blank. There are discussion questions included as you talk about each part of the story. You can write some things your children said on the blank side as your personal family record. That would create an instant family treasure.
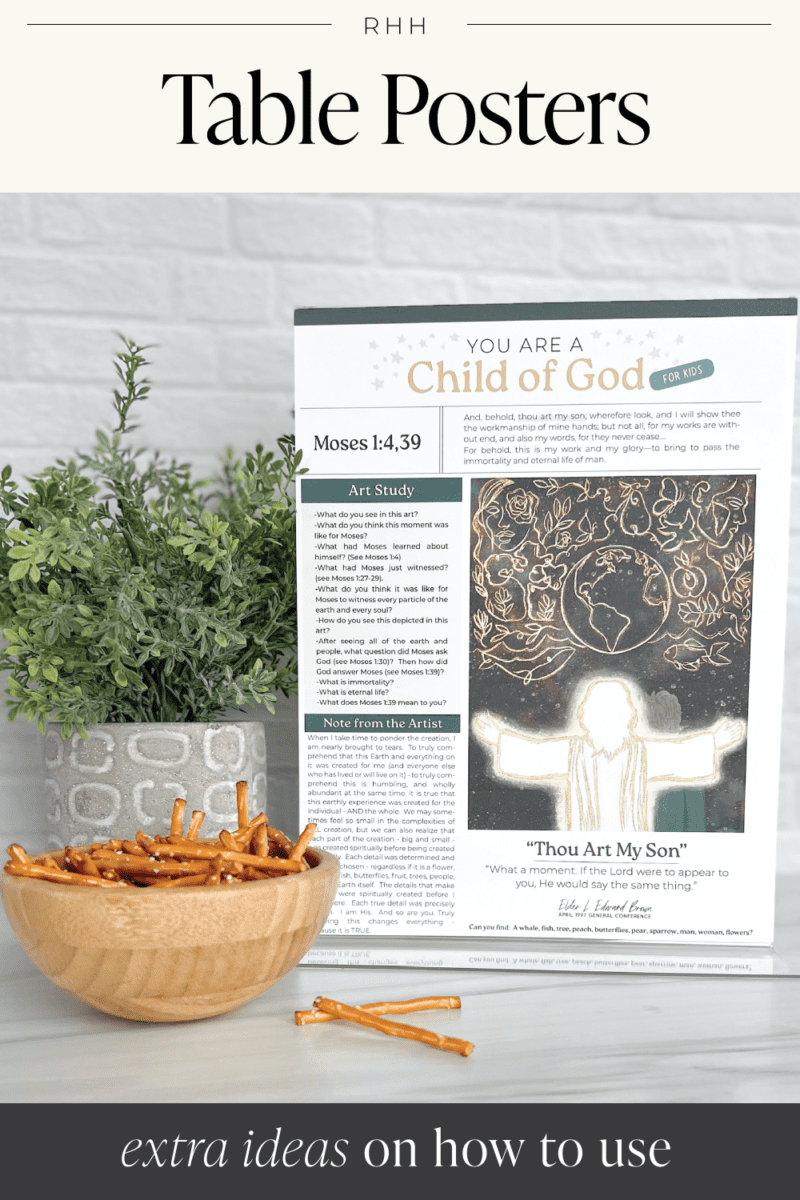
Item: Table Posters
Ages: Teens and Kids
File: Scripture Activity Kit
Ideas for Use
- Slide the table poster into an acrylic sign holder and set out on your counter or table for your children to read as they eat.
- Use to help you come up with teaching activities. Circle the videos you want to use, activities you want to do, etc. The table posters are full of ideas for you to choose from.
- Give to a child and ask them to look over it and use it to plan a lesson for your family.
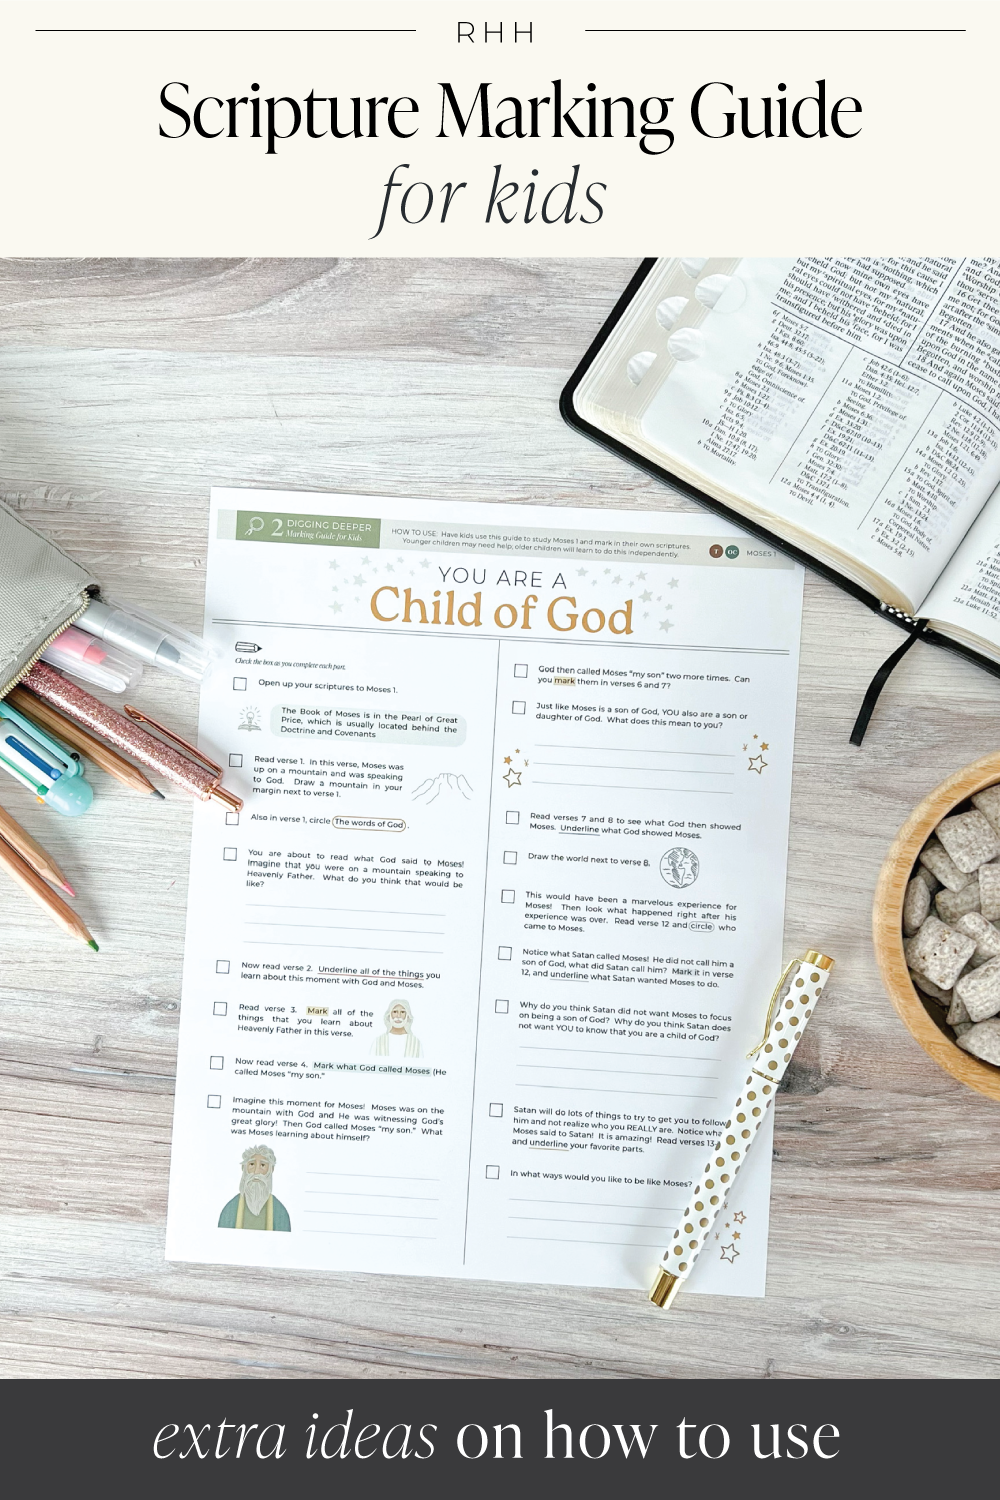
Item: Scripture Marking Guide for Kids
Ages: 7-12
File: Scripture Activity Kit
Ideas for Use:
- Start by assisting your children and over time, you can step back more and more as they learn to study and navigate the scriptures independently.
- Set up an inviting atmosphere. Set out the marking guide, their scriptures, a snack, and play music.
- Same as above, but hide it somewhere in the house so they have to find it.
- Consider having a set time each week they fill out this guide – like before or after Church.
- Set out a dictionary as your children study. Help them learn to look up words they do not understand and encourage them to look up at least three words.
- Create a tradition around the guide such as: They call grandpa every week and tell him what they learned.
- After your child has studied, invite them to give a family lesson about what thy learned.
- Look over the marking guide or ideas for discussions throughout the week. Because your child has previously studied the chapter, they are more prepared and can build upon what they have learned.
- Use in a classroom setting. The guide can serve as an outline for the lesson and the children can be following along and marking their scriptures.

Item: Scripture Marking Guide for Teens
Ages: 13+
File: Just for Teens
Ideas for Use:
- Set up an inviting atmosphere. Set out the marking guide, their scriptures, a snack, and play music.
- The file is separated on its own so that, if your teen chooses, they can get on your computer, find it, and print it on their own (you would just need to save it to somewhere they know to look). This is ideal because it can help them to create habits of scripture study of their own accord.
- In a classroom setting, or youth activity, play soft music and give the teens time to work through the marking guide (maybe 15 minutes or so). Then go through and discuss what they learned and what stood out to them.
- Parents and teens can all do the marking guides on their own and then come together prepared to discuss lessons they learned.
Item: Family Scripture Stickers
Ages: All ages
File: Scripture Activity Kit
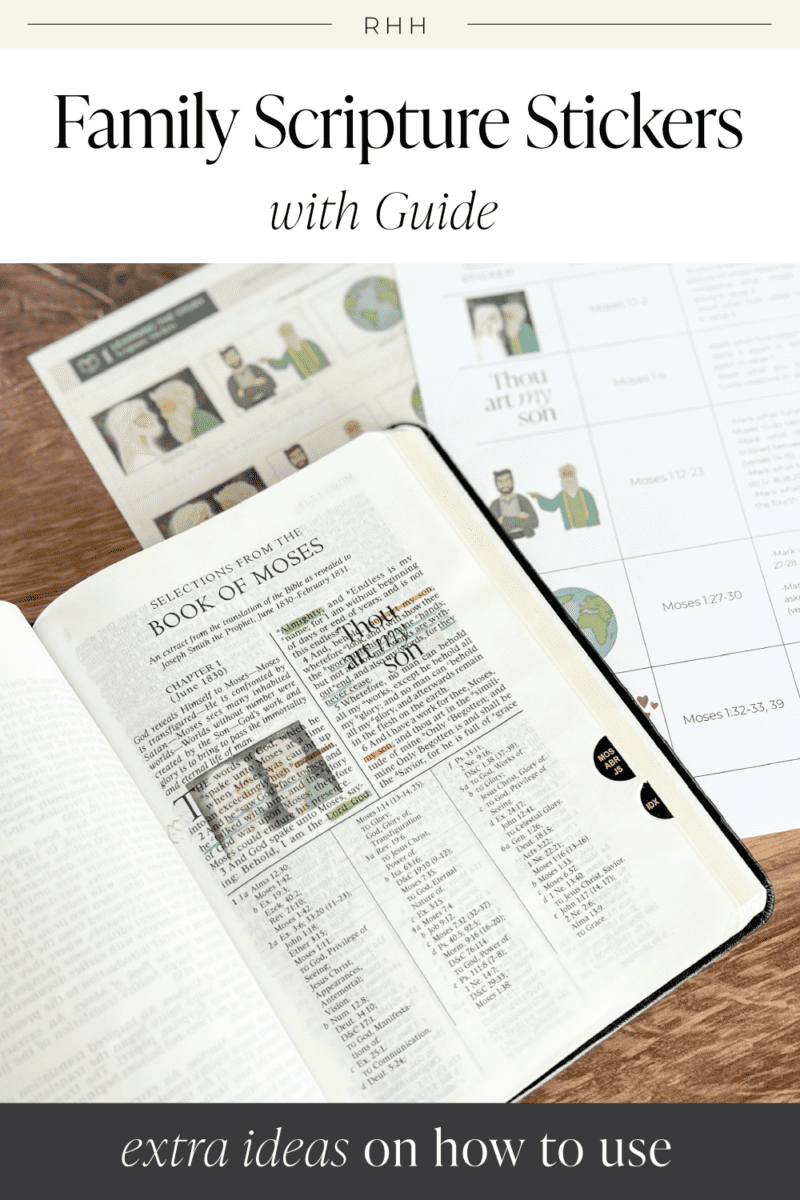
- In the past we have offered printable scripture stickers that you can place in your wide-margin scriptures. This year we have created them so they can be placed over the text in your scriptures. Also, it comes with a family guide you can use during family scripture study. The family guide gives additional scripture marking ideas and discussion questions. So as each family member gets to place their stickers, they can do more scripture marking, and have a meaningful discussion.
- This guide can be given to an older child and they can direct the family scripture discussion.
- This guide can also be used in a classroom setting.
Item: Notebooking
Ages: All ages
File: Scripture Activity Kit
Ideas for Use:
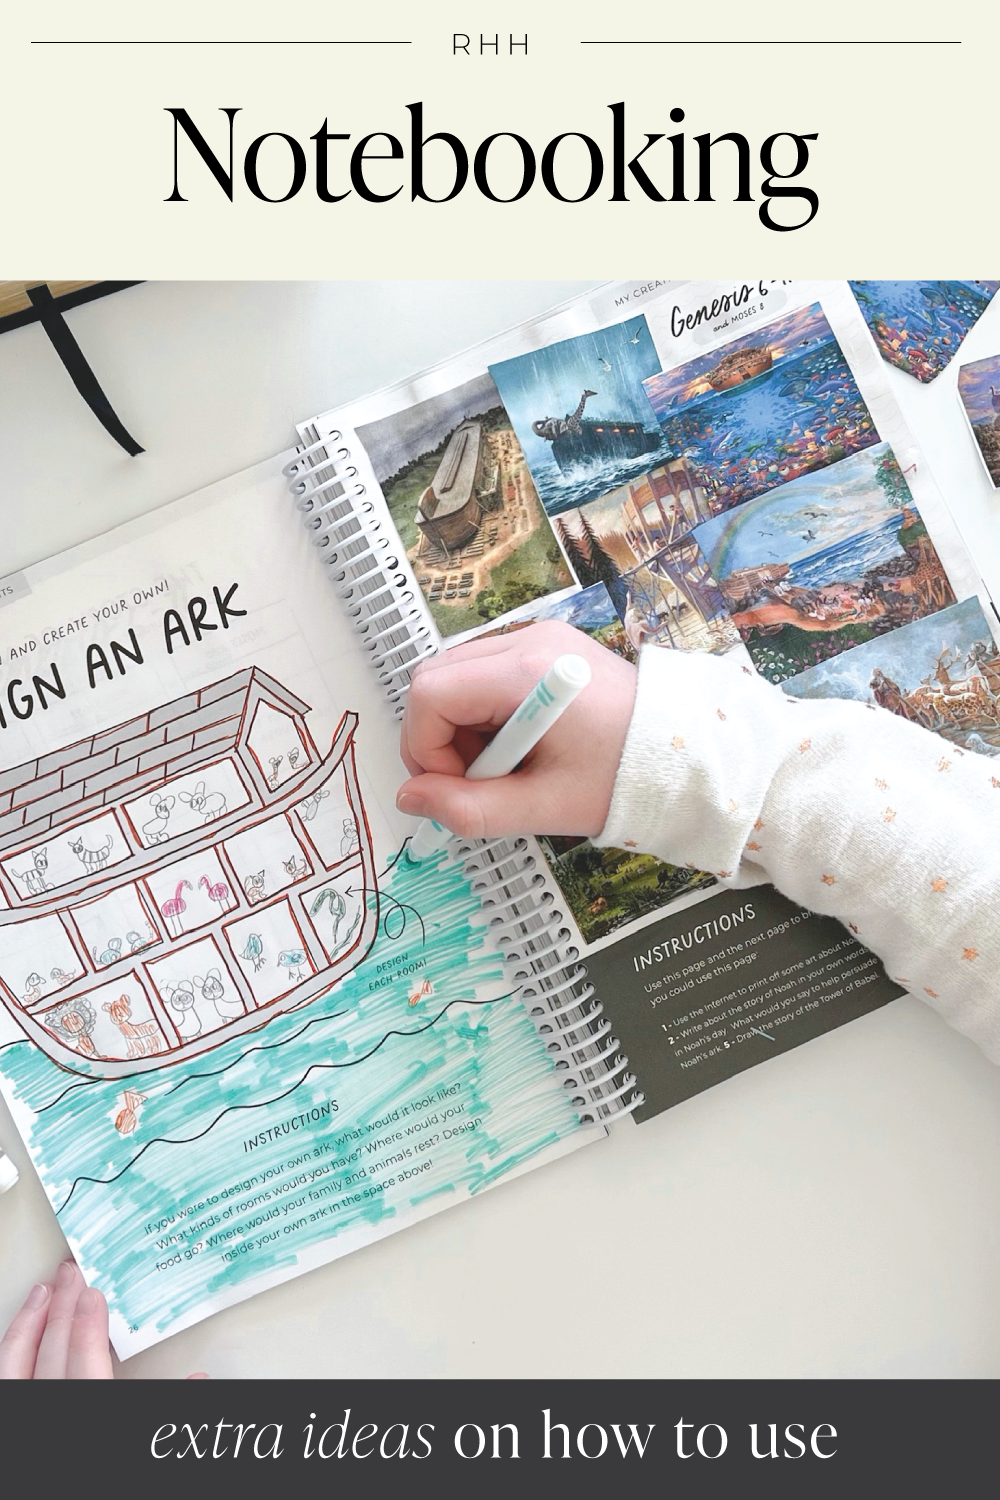
- After the child or teen has been introduced to the story, they can create a note booking page about the story, or something that stood out to them. The notebooking page in the kit is all of ideas for them and they can choose their favorite idea or an idea might be sparked from another one on the list!
- Adding art to a note booking page can be a wonderful way to make the page unique. There are art options on the note booking page or your child can find some art online, print, and paste it in their notebook.
- Use children’s note booking pages to teach the family important principles from the story.
- Have the children take pictures of their note booking pages and text them to family members.
- There are built-in note booking pages in our Old Testament Guidebook for children and youth. You can find it HERE.
Item: “More Ideas”
Ages: 2-18
File: Scripture Activity Kit
Ideas for Use:
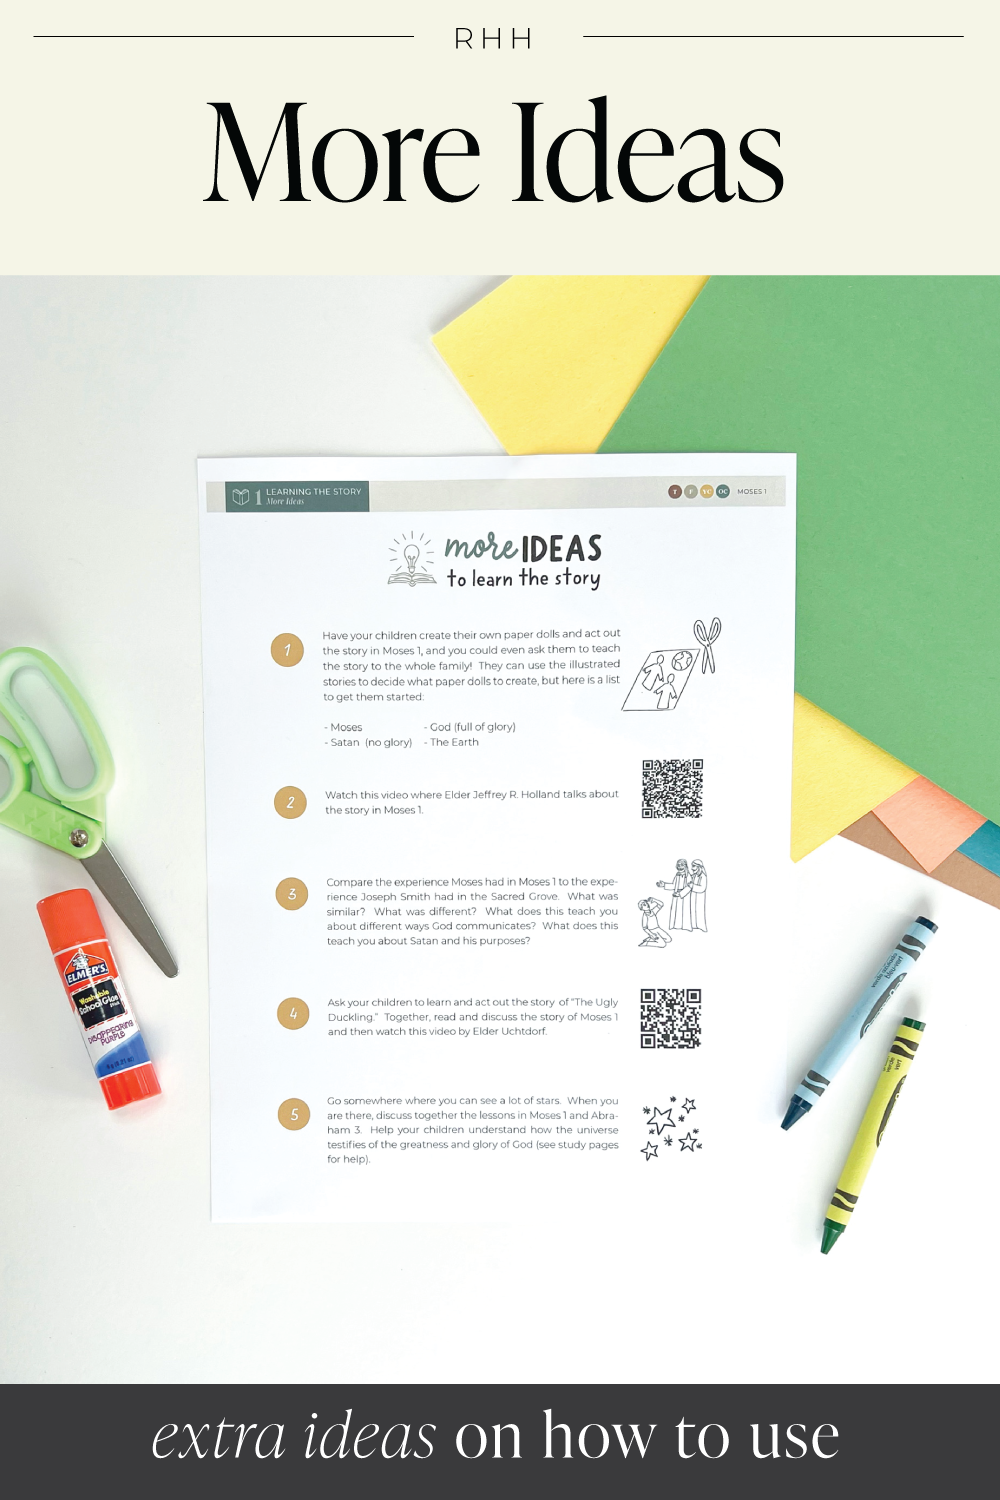
- Every kit has lists of more ideas so you have many ideas to choose from. Listen to our podcast episode 4 HERE to learn why variety is such an important principle.
- Hand this page to an older child and tell them to pick one idea and plan a lesson for the family.
Item: Crafts and Activities
Ages: 2-18
File: Scripture Activity Kit
Ideas for Use:
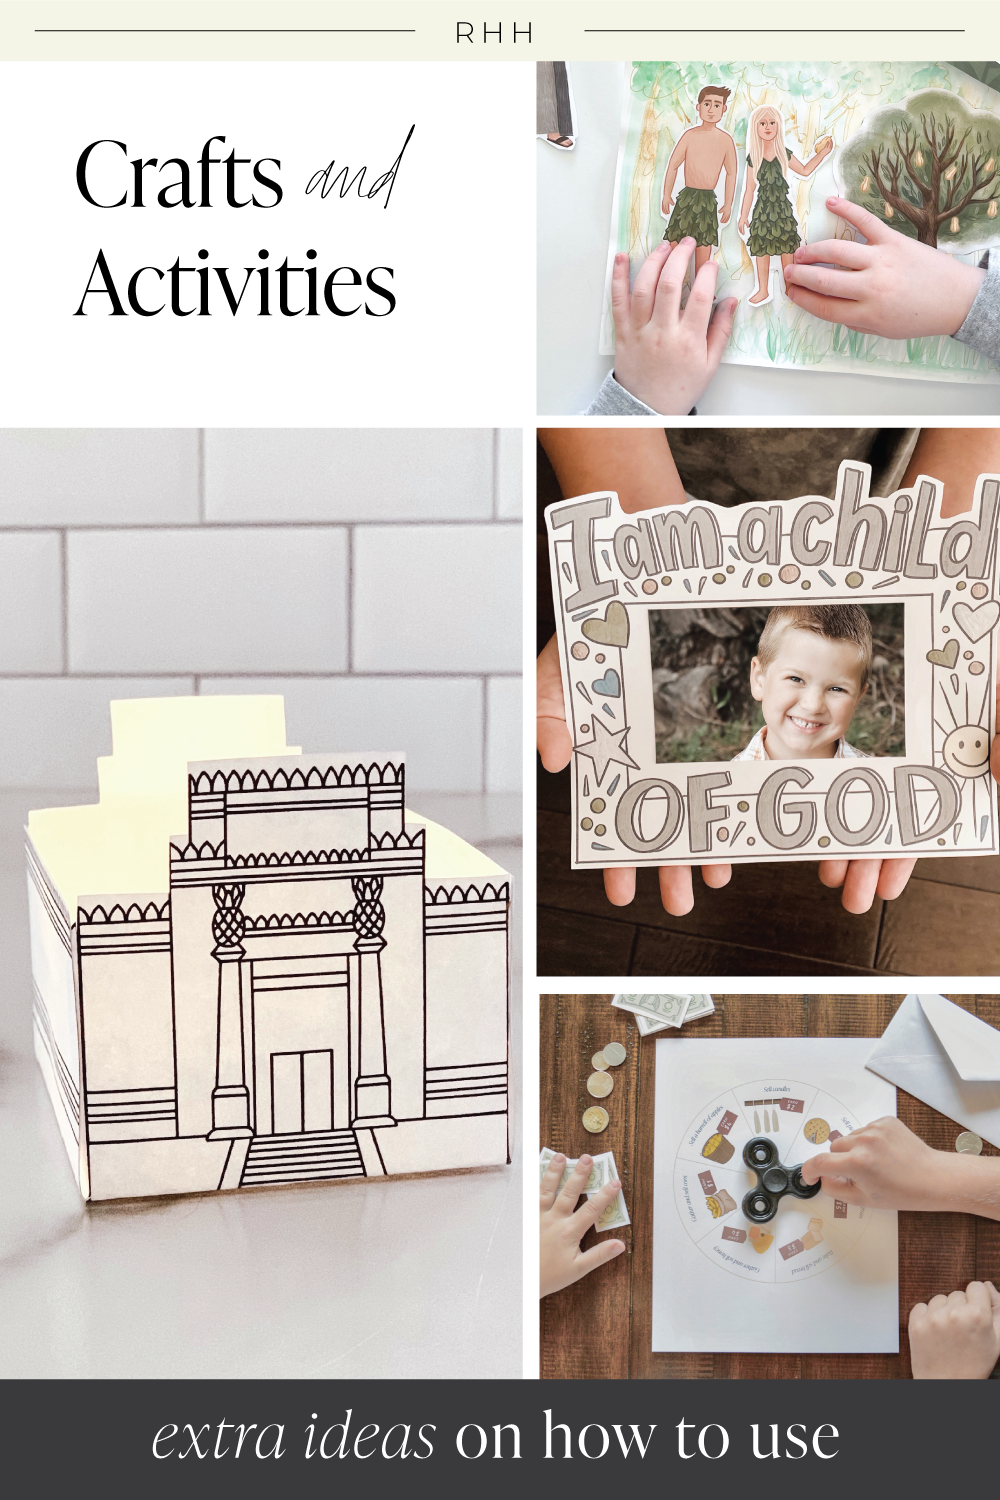
- Each week there are fun crafts and activities. These can be used to introduce the story and get them excited, or they can be a review or reward.
- If you do the craft each week, you could keep an “Old Testament Treasure Box” and keep your crafts in there. The children can then pull them out each week and play with them again and remember what they learned.
- The activities are often great for classroom use as well as family use.
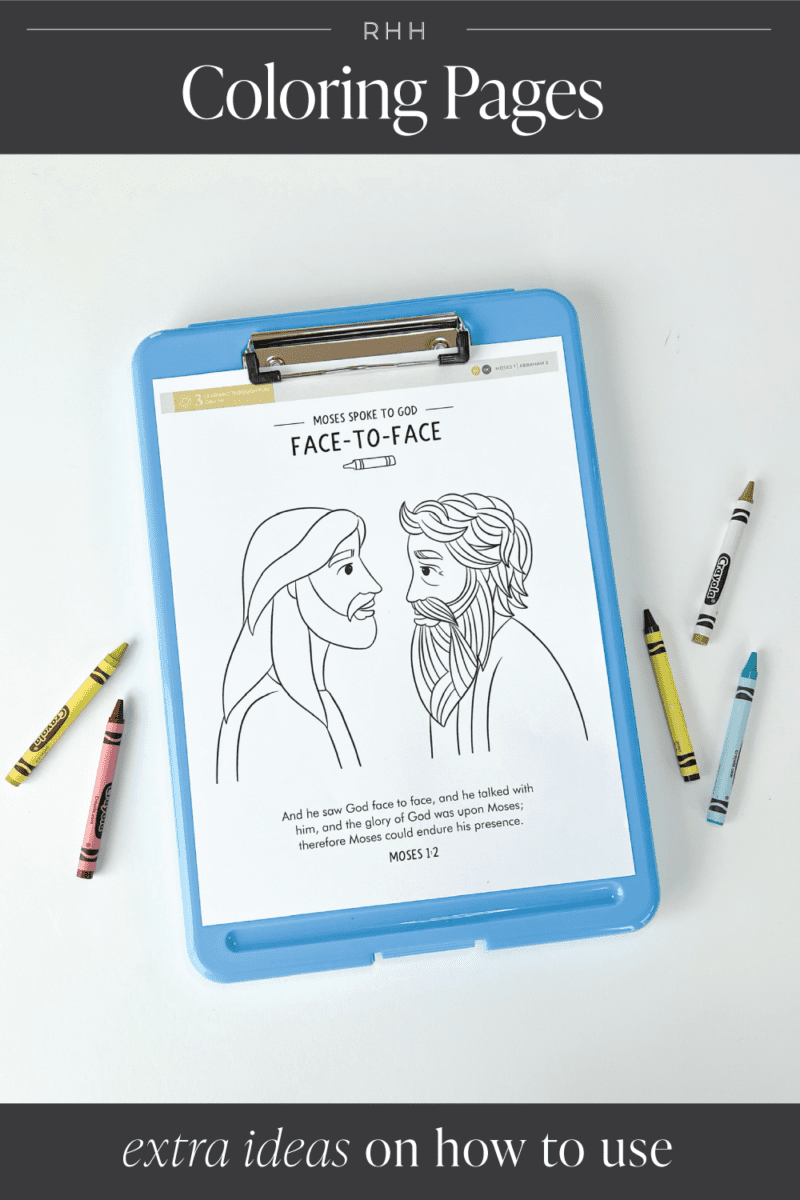
Item: Coloring Pages
Ages: 2-10
File: Scripture Activity Kit
Ideas for Use:
- Use these to help teach and introduce these important stories.
- Use these coloring pages to help little hands keep busy while you have a conversation with older children.
- Get a plastic clipboard that has storage in it. Fill the storage part with coloring pages and it will also fit crayons. It is ready to take with you to Church/class!
- Have the children color the pictures and use their pictures during family scripture study.

Item: Gallery of Stories
Ages: 2-12
File: In Bonus Files
Ideas for Use:
This is a reward system that you can use throughout the entire year – and you can prep the whole reward system right at the beginning of the year and the work will be completely done!
This idea of a gallery of stories goes with podcast episode 2 – you can listen to it HERE.
The idea is that the children will develop a gallery of scripture stories in their mind (listen to the episode linked to above to learn why this is so important). With this “Gallery of Stories” booklet, each week they will add a new story to their personal gallery and they can look through them all year long.
This is how you make the booklet:
- Print onto white cardstock and cut into individual pages (4 pages print per paper).
- Punch a hole in the upper left corner and attach the pages with a book ring. OR use a photo album and put one page in each place for a photo.
- Print the illustrations onto sticker paper and cut out. Place in an envelope.
- Each week your children can add a sticker to their gallery! So their gallery will have empty frames until they put the sticker in.
More ideas:
- The back of each page in the booklet will be blank. Have your children write or draw something they learned, or why that story is important for them to know.
- You can write notes to the children on the back too! Tell them what this story means to you and write your testimony to them.

